Install customized HPC env#
Log in to Puhti#
The first step to start creating your own space for High Performance Computing (HPC) is to log in in the CSC Puhti supercomputer.
CSC Puhti!
To log in to Puhti supercomputer you need a CSC account or HAKA credentials.
Create your personal folder#
Once you are logged in you will see the User Interface of Puhti that contains that Apps that you can connect the HPC resources (Figure 1). We are going to install a containerized Python environment in our Home Directory that later on will be connected to Jupyter Lab.
Start opening the Home Directory
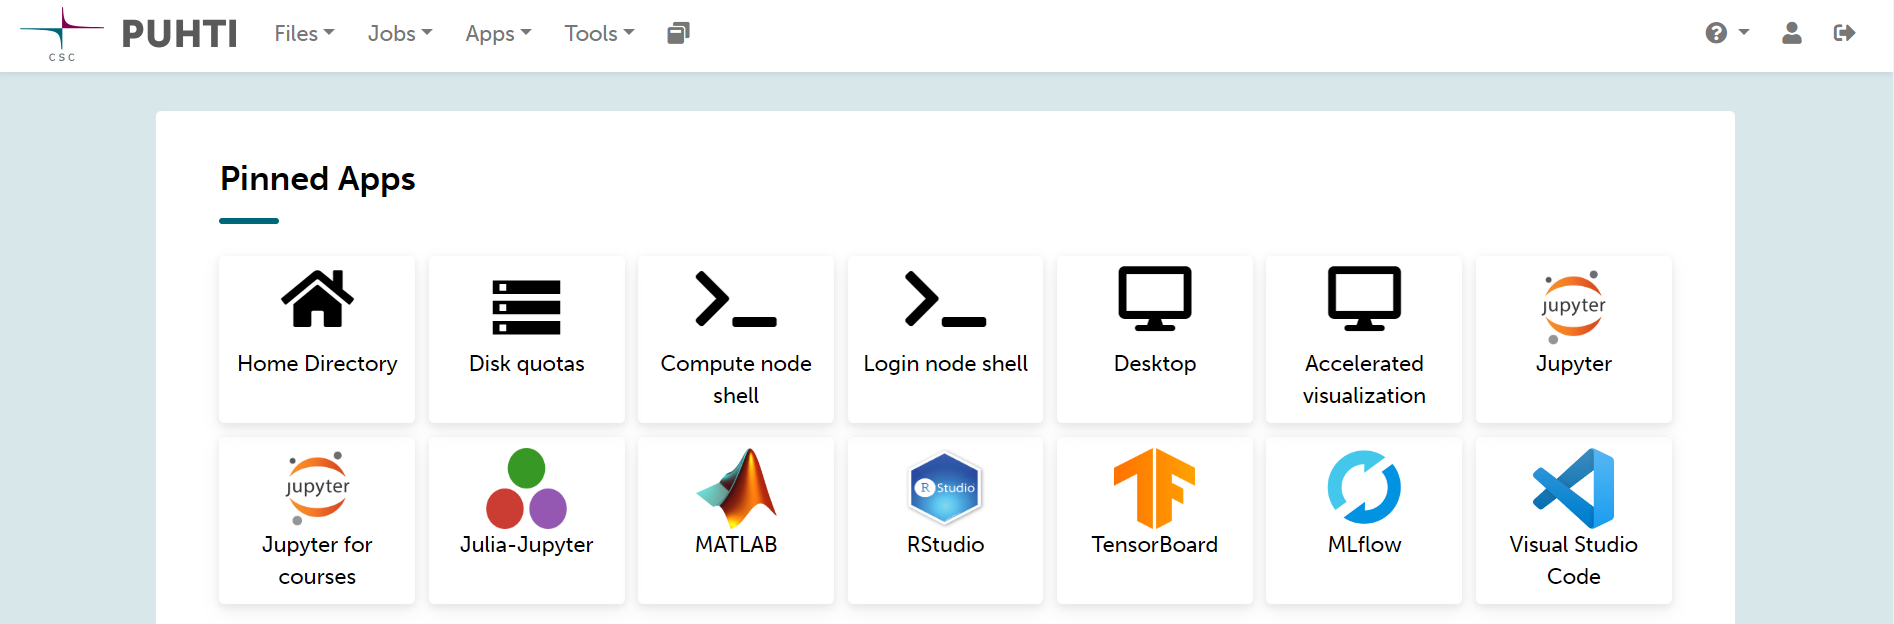
Figure 1. Puhti - User Interface#
Once you have opened the Home Directory, in the left side, you will see the code of your project like project_200xxxx in two different Disk section like projappl and scratch. You should know that the scratch Disk must be used temporary because it has a regular clean up (every 180 days) meanwhile the projappl Disk has no clean up. In the projappl Disk the capacity is 50GiB and in the scratch Disk the capacity is 1TiB. You can read more about the Disk partition in CSC Disk areas. For the lesson, feel free to use any of scratch or projappl.
Start creating a new folder called GIT-HPC (Figure 2).

Figure 2. Puhti - Home Directory personal set up#
Clone the repository#
Once you have your folder ready it is time to clone the repository with the needed material like the coding Notebooks and the environment.yml file that we will use to creating our environment. Take a look in the menu on top you have the option >_ Open in Terminal like in Figure 3.
Open your folder in terminal.
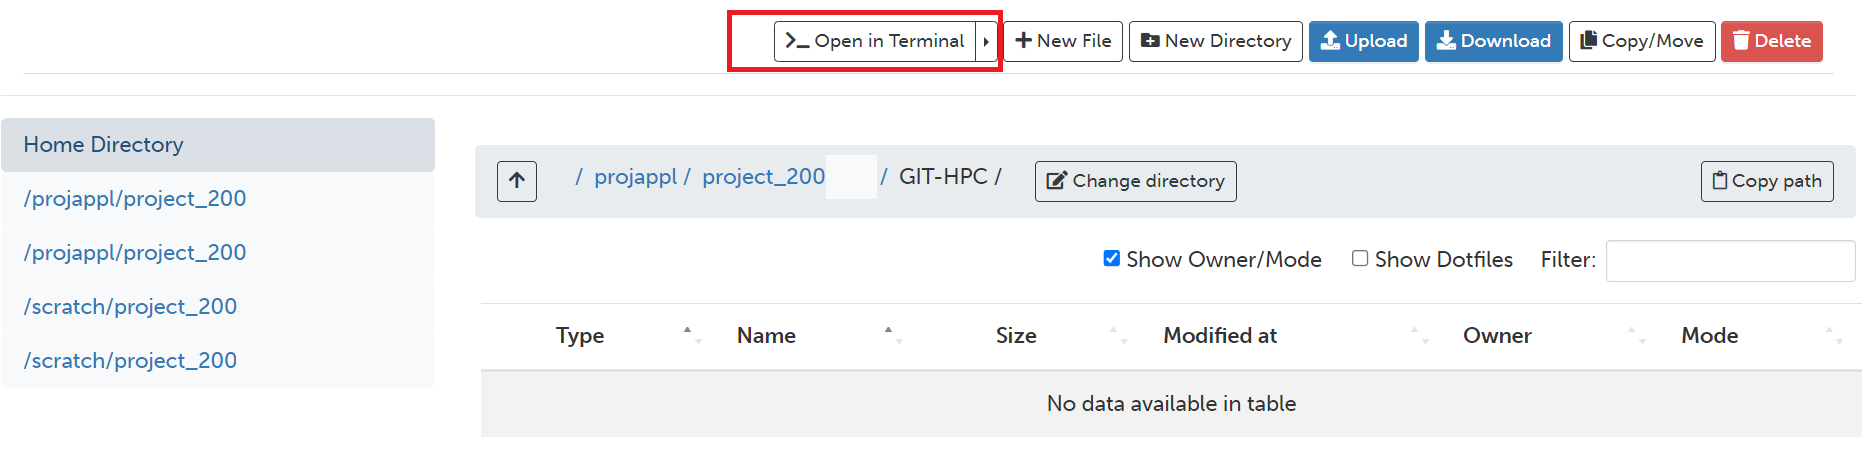
Figure 3. Puhti - Home Directory and Open in Terminal button#
Then, you will have a view of the terminal like in Figure 4. It will contain your new folder as a directory and your user log in.
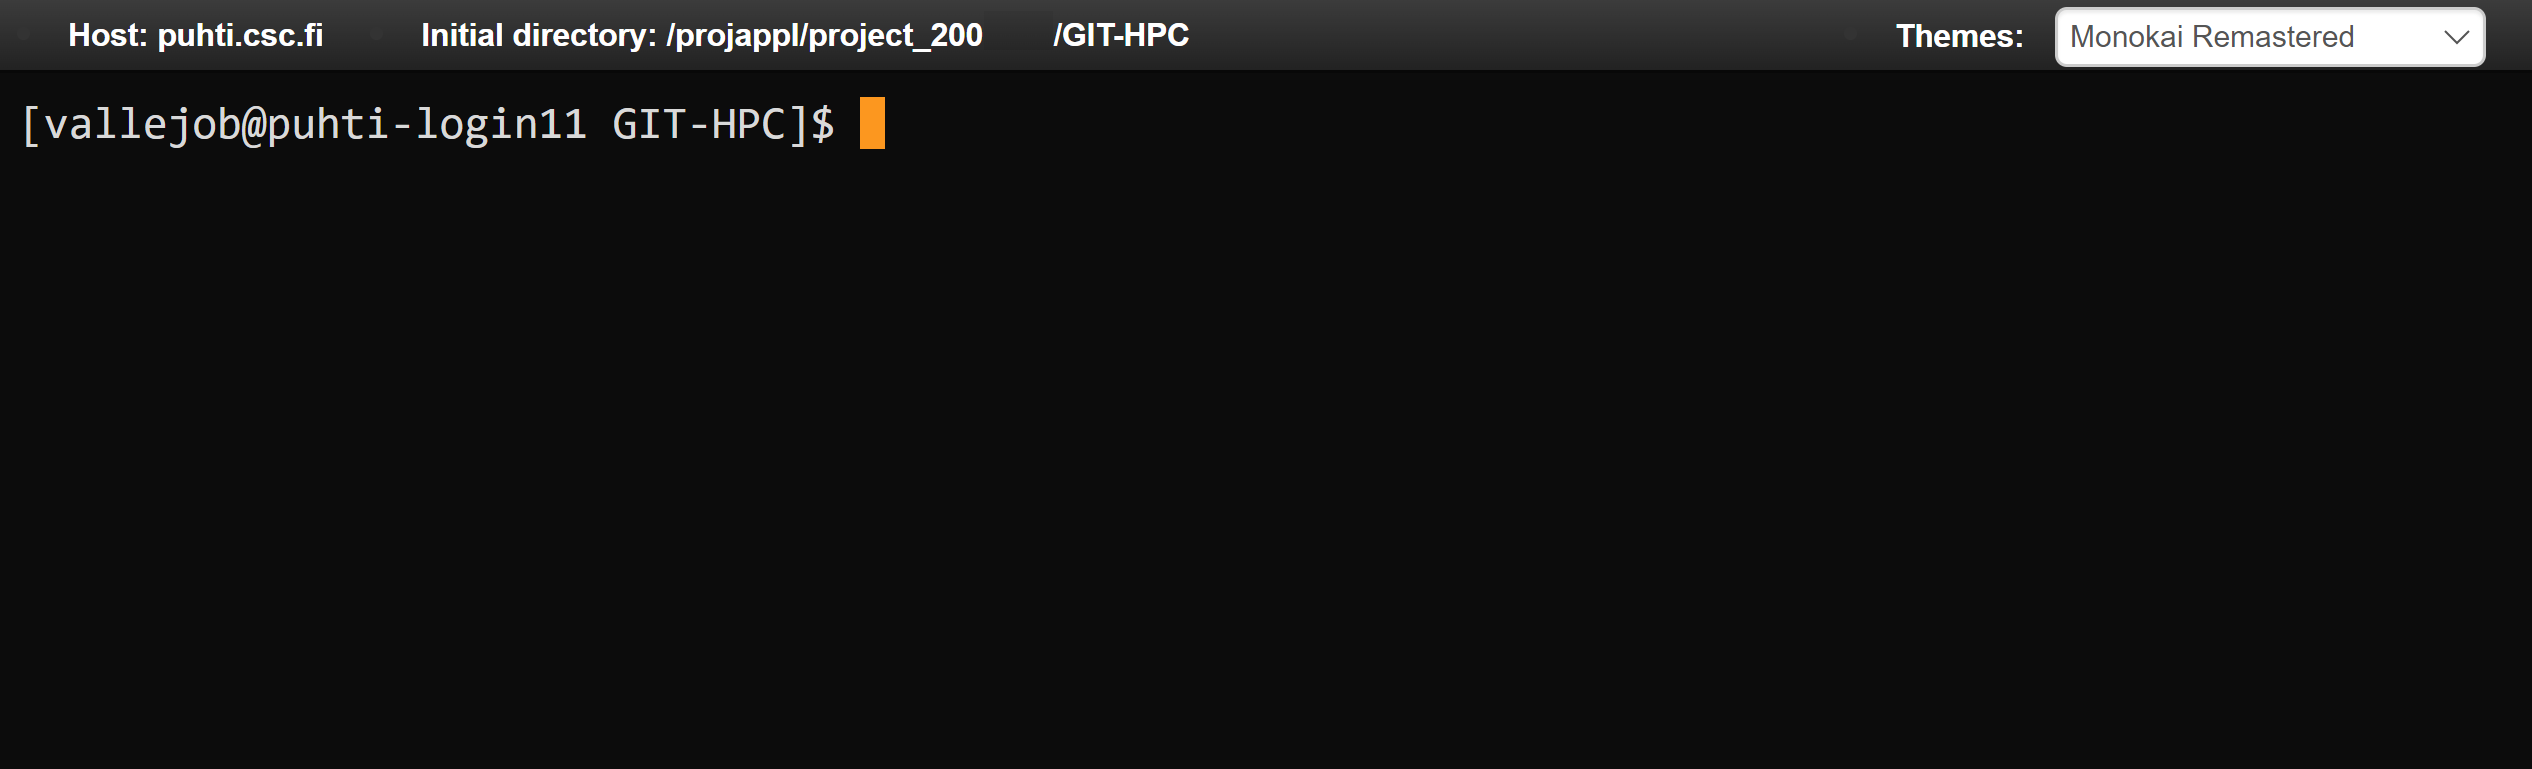
Figure 4. Puhti - Terminal#
We will clone the Repository in Puhti using Git. Copy and paste in your open terminal the next line (ommit the symbol $):
$ git clone https://github.com/AaltoGIS/GeoHPC.git
It should be like in Figure 5.
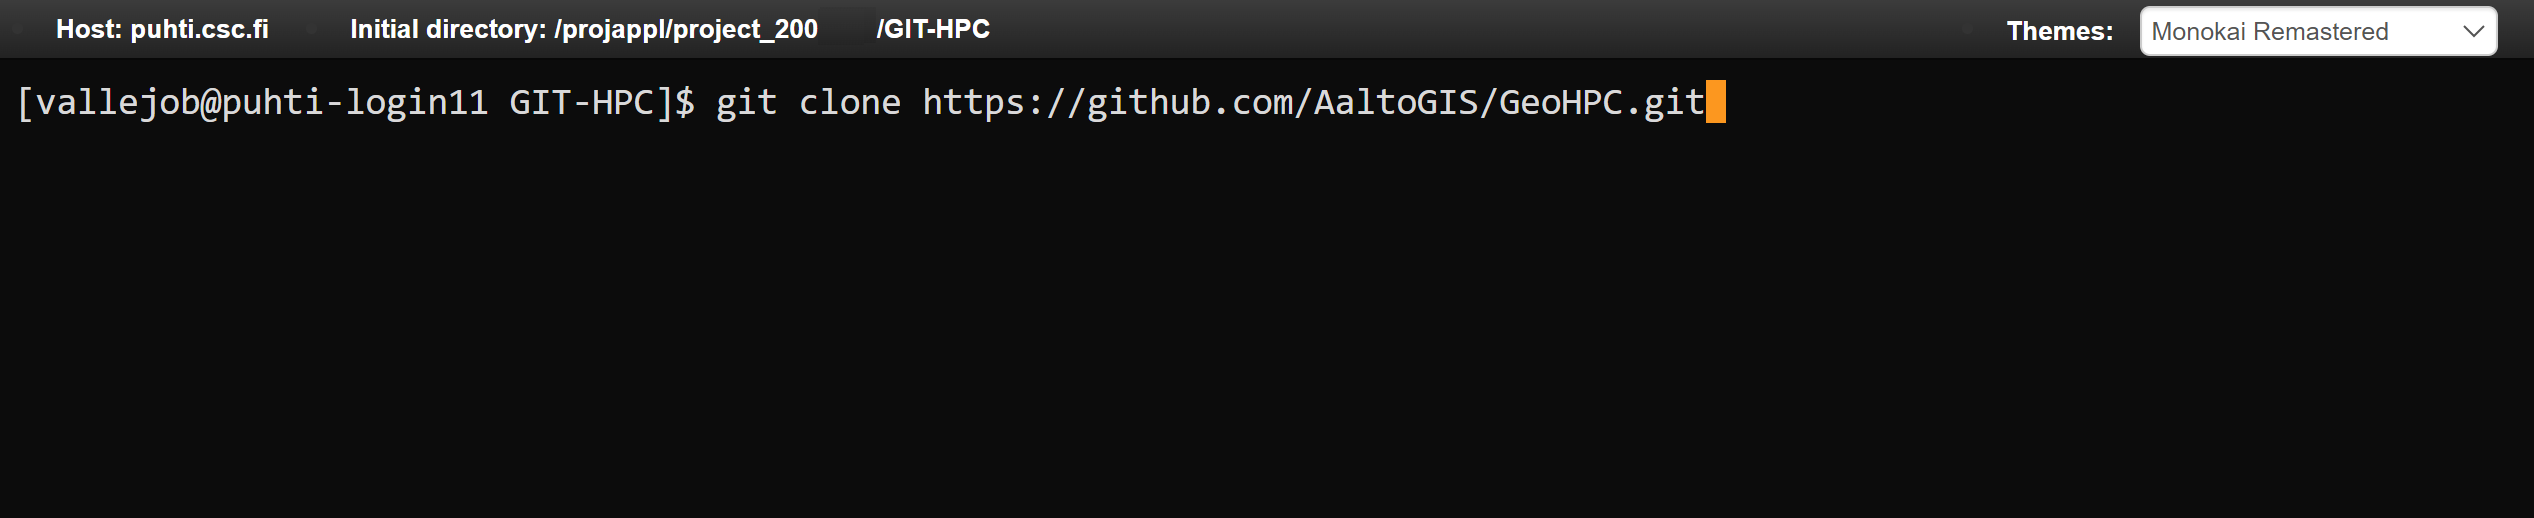
Figure 5. Puhti - Clone the repository using terminal#
You can also explore a bit the repository on GitHub here:
Once the Repository is cloned it should be abvailable in your Directory. You can check using the next command:
$ ls
If you are willing to know more about Linux commands you can check in the Linux commands from CSC documention.
Finally you can clear the terminal (optionally) using the command:
$ clear
Install Tykky module#
The Tykky module is a container wrapper that helps to install software in HPC. It can be used to containerize a conda environment using an environment.yml file. We will activate the Tykky module and install a customized environment that we will use further with our notebooks.
To start, give a quick look to the modules already loaded using:
$ cd module list

Figure 6. Puhti - Modules#
Then, you will remove all modules:
$ module --force purge
If you check again with module list you will notice that there are no modules loaded.
Then, add Tykky module:
$ module add tykky
Be sure that you have added Tykky using module list, it will tell like in Figure 7.

Figure 7. Puhti - Module tykky#
Containerize Python environment#
We will start creating a new folder called env_container where we will containerize our Python environment. Simply, use the terminal and the next command line:
$ mkdir env_container
You will notice that now you have a new folder like in Figure 8.
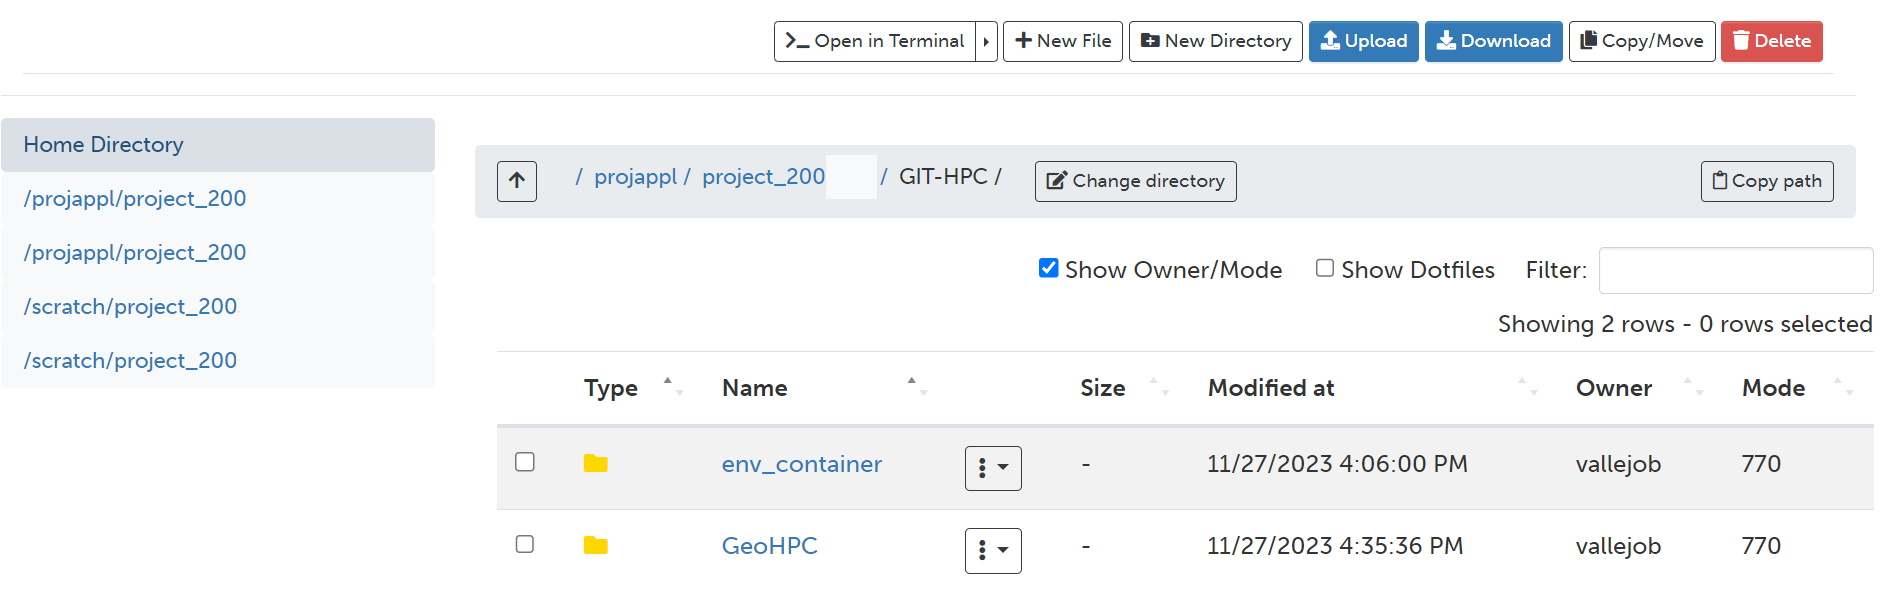
Figure 8. Puhti - A new folder for environment#
Now, we will containerize our environment using tykky. We need to specify two directories: 1) the folder directory where you will containerize the environment, and 2) the environment.yml file.
The command we will use has the form conda-containerize new –prefix {folder-directory} {environment.yml}
Our folder-directory will be our newly created folder env_container and the environment file is located in the folder env in our cloned repository. It is recommended to create the containerized environment outside the git folder GeoHPC so it is not compromised in case you need update or delete the folder then the environment is not compromised.
You can use the next command (be sure you replace 200xxxx with your project number):
$ conda-containerize new --mamba --prefix env_container GeoHPC/env/environment.yml
if you find difficulties an alternative is without mamba:
$ conda-containerize new --prefix env_container GeoHPC/env/environment.yml
Once the environment is installed you will see the message Done. This installation process might take approximately 15 minutes. Your terminal might give a message like in Figure 9.

Figure 9. Puhti - Environment containerized using tykky#
If everything looks like this so far you have installed successfully a customized Python environment in HPC. In the next page you will learn how to use this environment with Jupyter Notebooks and HPC resources.
Activate your environment (optional)#
You can use the next command (be sure you replace 200xxxx with your project number) to activate your environment and run scripts:
$ export PATH="/projappl/project_200xxxx/GIT-HPC/env_container/bin:$PATH"